Installing DirX Identity
This chapter describes how to install and un-install DirX Identity.
Installation
This section describes how to run the DirX Identity installation procedure to install the DirX Identity software on a machine.
General Remarks
For each successful installation / un-installation, a record is written to the file
install_path/install_history.txt
providing information about
-
Date of installation / un-installation
-
DirX Identity version
-
Name of user performing the installation / un-installation
-
Installed components
For each successful installation, there is a related installation log file install_path/_DirX_Identity_version_Install_timestamp.log.
For each successful uninstallation, there is a related uninstallation log file install_path/_DirX_Identity_version_Uninstall_timestamp.log.
Windows Instructions:
To install, configure and run DirX Identity or any of its patches, consider the following issues resulting from the User Access Control (UAC) functionality introduced with these operating system versions. With UAC, Microsoft introduced a technique to "elevate" a user "on flow" from a standard to an administrative user by letting a standard user "explicitly confirm" when trying to perform an administrative task, like writing to the registry, creating, editing or deleting files and so on. UAC is active by default to prevent the system from unauthorized user manipulation.
Because this explicit confirmation cannot be done at any time during Installation and Configuration, you must:
-
Put the logged in user account to the Local Administrators (Windows Client) - or the Administrators (Windows Server) group
-
Disable UAC during Installation and Configuration and turn it on again afterwards if you want to.
Another issue besides UAC to be considered is the access rights required on the installation folder and subfolders. You no longer automatically need to have the read, write and create files rights on each installation subfolder even if you are a member of the Administrators group. To get these rights, you can:
-
Install DirX Identity under a different path (for example, C:\My_Program Files...) from the default path (C:\Program Files...), or
-
Take the default path and explicitly set those rights on the subfolders (Properties → Security → Permissions) for the logged-in user where configuration files need to be edited or temporary files or log files need to be created, or
-
Always open a DOS command prompt with administrative rights if you want to edit or delete a file in a specific subfolder.
Linux Instructions:
The login name of a Linux user determines the destination folder for installation. The folder is userID_home_directory/DirX/Identity, where userID_home_directory is the home directory of the specified account. For the DirX Identity package you can use any account which is different from the account that is used for DirX Directory Server. The user ID must exist before you perform the installation procedure.
A graphical and a command-line based (console mode is default) installation procedure is available.
The following description shows the graphical installation procedure. The screenshots are taken on Windows. The look on Linux is slightly different.
During the graphical installation mode, you can click Cancel at any time to leave the installation program. You can click Previous at any time to return to a previous dialog.
Console mode mimics the default GUI steps provided by InstallAnywhere and uses standard input and output. X-Windows (X11) is not necessary to run the DirX Identity installation in console mode. Console mode outputs text to the console line-by-line. It does not allow for any formatting, clearing of the screen, or positioning of the cursor. The console mode information is almost identical to the graphical display. Thus, it is not listed in this manual.
During this mode, you must respond to each prompt to proceed to the next step in the installation. If you want to go back to a previous step, type 'back'. You may cancel the console installation at any time by typing 'quit'.
Starting the Installation
Before performing an update / upgrade installation, you need to perform these steps:
-
Stop all running workflows (disable scheduling, shutdown event managers). You can use the maintenance scripts to perform this task.
-
Stop all DirX Identity services and user interface components, including the Tomcat Services into which you deployed DirX Identity components.
Windows Instructions:
To install DirX Identity on Windows Server:
-
Log on as administrator.
-
With Windows Explorer, navigate to \Installation\DirXIdentity\Windows\Server on the DVD.
-
Double-click dirxidty.exe.
Linux Instructions:
To install DirX Identity:
-
Log in as a Linux user.
-
Insert the DVD for your Linux system. The system mounts it automatically.
-
Open a shell.
-
Perform the command
cd /mount_point/Installation/DirXIdentity/Linux/Server. -
Start the installation:
To perform the graphical installation routine, type
-
sh ./dirxidty.bin –i gui
To trigger a console installer from the command line, type the following command:
-
sh ./dirxidty.bin
or -
sh ./dirxidty.bin –i console
-
This is the default Linux installer UI mode.
Graphical Installation Procedure
License Information Dialog
Setup displays a License Information dialog:
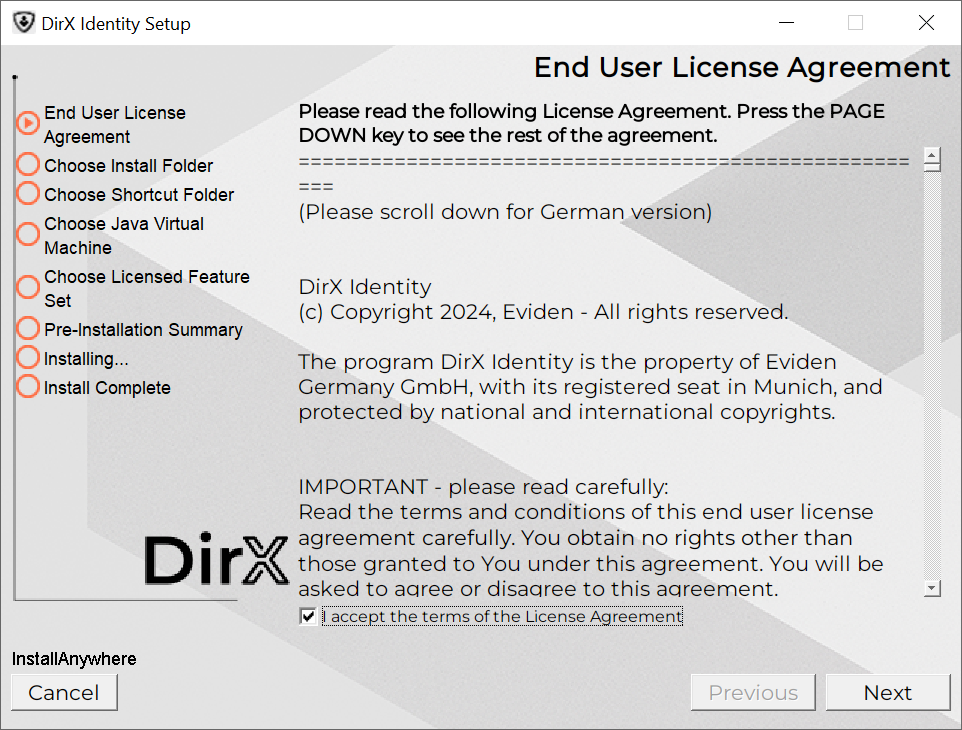
-
Read the licensing information, select Yes if you agree and then click Next.
Choose Installation Folder Dialog (Windows only)
Setup presents this dialog when you are installing DirX Identity for the first time or if you have previously uninstalled it. Otherwise, Setup takes the installation path from the Windows registry, and you cannot change it.
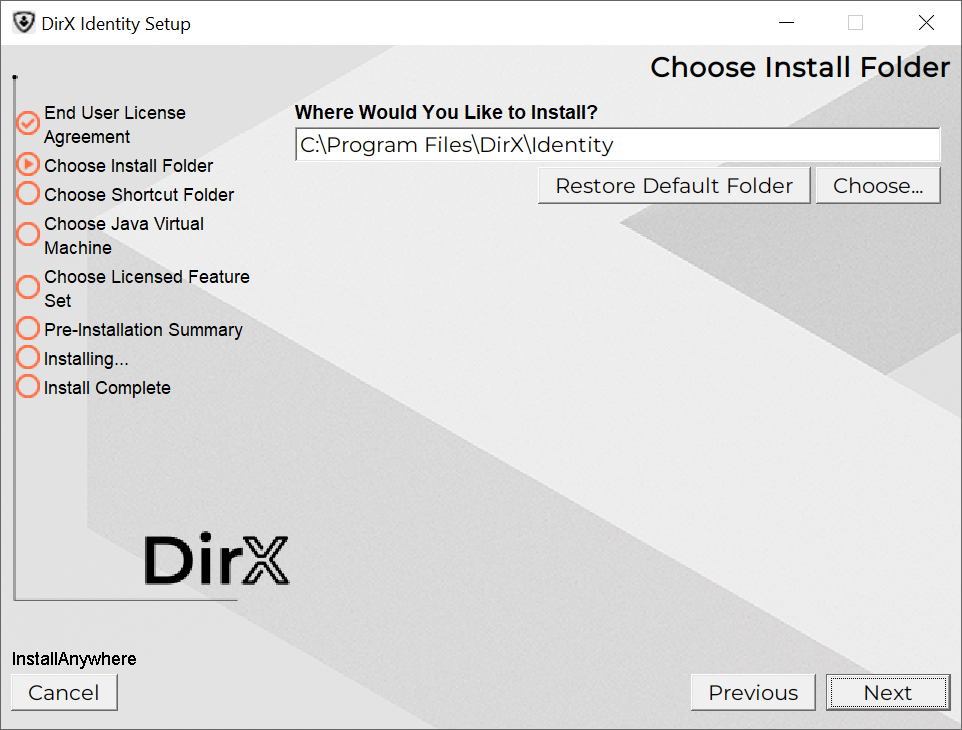
The default installation folder is ProgramFiles\DirX\Identity. The Windows system variable ProgramFiles contains the fully qualified name of the folder defined by Windows to store applications.
In this dialog, you can:
-
Click Next to select the default location.
-
Click Choose to select another installation folder, and then click Next.
-
Click Restore Default Folder to select the default installation folder, and then click Next.
Choose Shortcut Folder Dialog (Windows only)
The Choose Shortcut Folder dialog allows you to select a program group for DirX Identity.
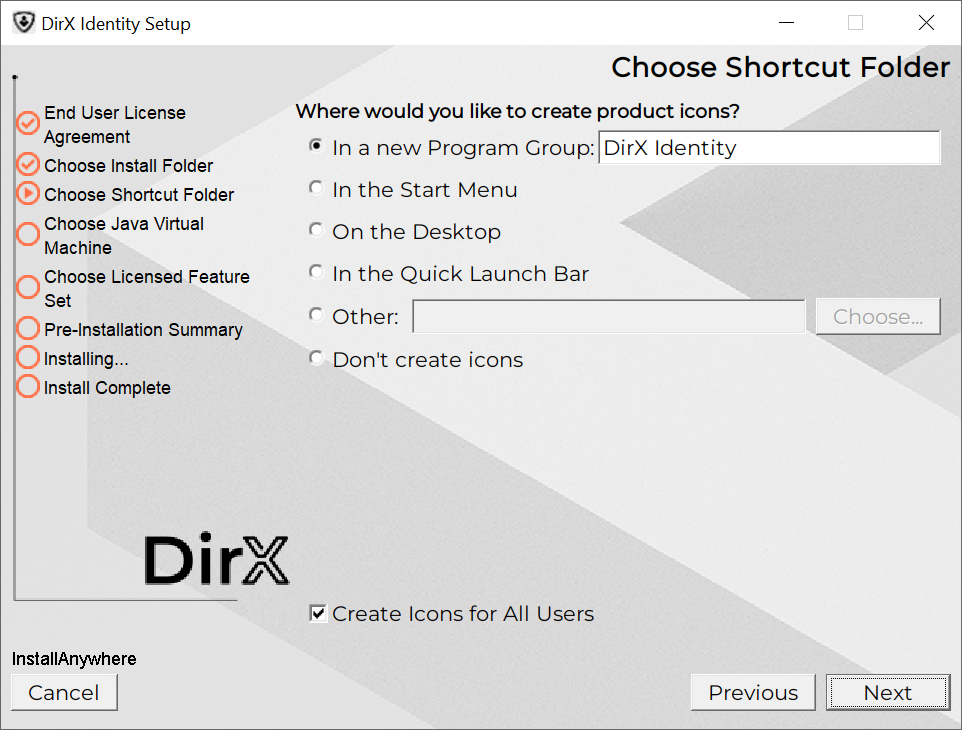
In this dialog, you can:
-
Click Next to select the default program group.
-
Click In a new Program Group and select a program group, and then click Next.
-
Click In the Start Menu, and then click Next.
-
Click On the Desktop, and then click Next.
-
Click In the Quick Launch Bar, and then click Next.
-
Click Other and then Choose… to select another program group, and then click Next.
-
Click Don’t create icons, and then click Next.
Additionally, you can deselect the option Create Icons for All Users.
Choose Java VM Dialog
Setup presents this dialog.
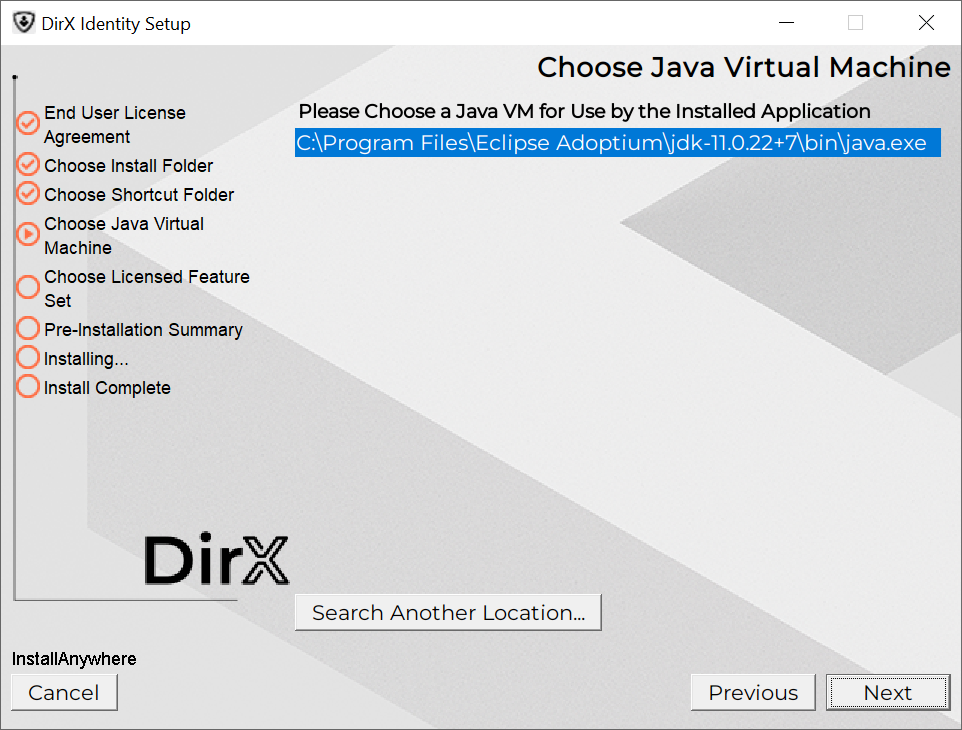
In this dialog, you can select the Java environment to be used for all the DirX Identity processes not hosted by a Apache Tomcat Web Server. To make the appropriate selection, you should read the chapter “The Java for DirX Identity”. You can:
-
Select one of the presented Java 11 VMs.or by clicking Search another location you can choose a path of a Java 11 VM. You must choose the home directory.
-
Click Next to confirm your selection.
Choose Licensed Features Set Dialog
In the Choose Licensed Features Set dialog you have to check the features you have licensed:
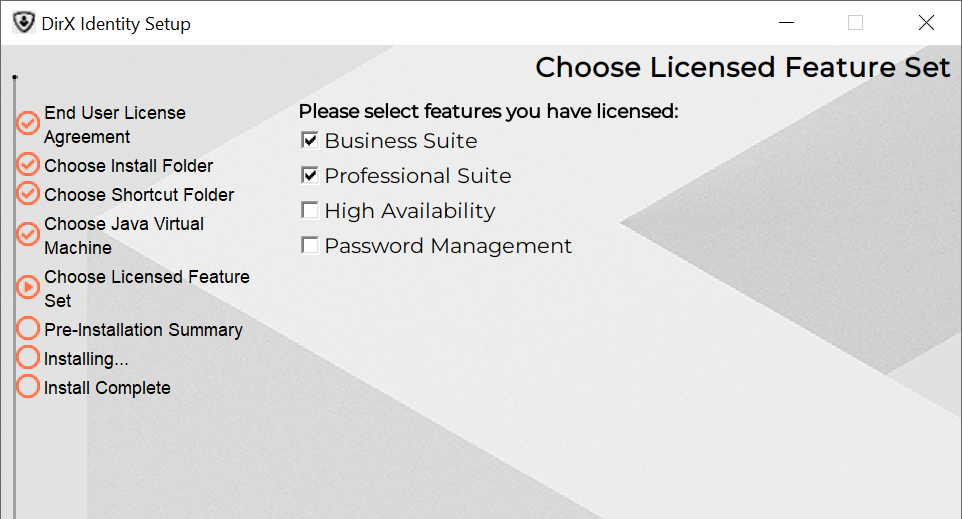
Select only the features you have licensed. The selection affects the selectable components in the subsequent Choose Install Set Dialog. The following list shortly explains the relevant feature list:
-
Business Suite – This license entitles you to install the core functionality of the product and the basic connectivity packages. Note that for other connectivity packages you need additional licenses.
-
Provisioning Suite - This license entitles you to install the Pro Suite Upgrade to the Business Suite.
-
High Availability - This license is an add-on to the Business Suite and entitles you to install the High Availability components.
-
Password Management – Select this box, if you have Password Management either as an add-on to the Business Suite or as a standalone license. It includes the necessary components from the Business Suite and additional components only available with Password Management.
Revise your selection carefully. Once you proceed to the next step, this selection is read-only and you have to restart the Installation procedure in order to correct this selection. Click Next to confirm your selection.
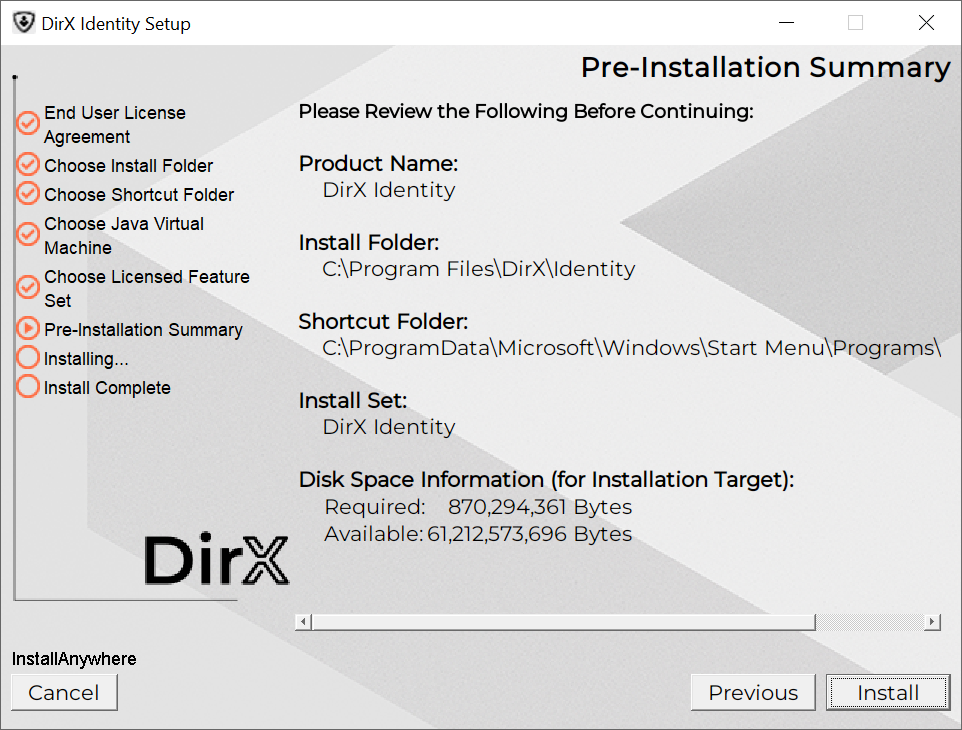
Pre-Installation Summary Dialog
Setup displays the installation selections you have made and asks you to review them.
-
Click Previous to change any settings you have made. Otherwise, click Install.
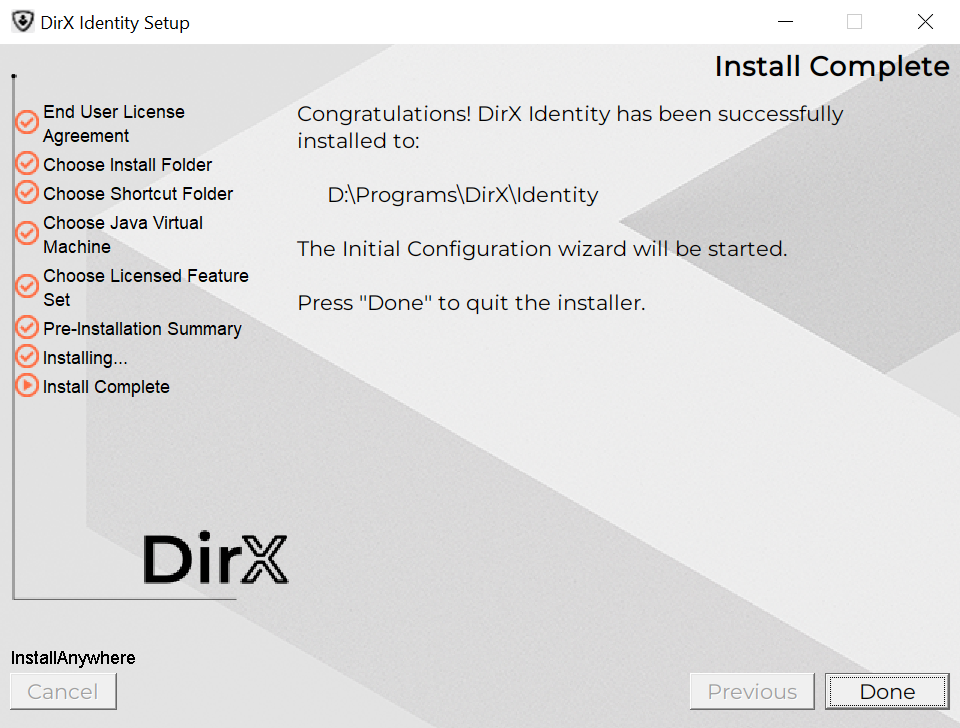
Setup Complete
Setup displays this dialog if you are installing DirX Identity and no errors occur:
-
If the dialog indicates successful installation without errors as above, then click Done to quit the installer.
-
Otherwise, check the DirX Identity Troubleshooting Guide for a solution to the problem if the installation result is different from the Setup Complete dialog above; for example, because it contains a text like The installation of Atos DirX Identity is complete, but some errors occurred during the install. Please see the installation log for details.
Completing the installation
After installing DirX Identity, the Initial Configuration wizard must be started to prepare the product for the first use. The Initial Configuration wizard is started automatically after a successful installation. Alternatively, it can be manually started using its Start Menu shortcut or launcher.
Environment Variable Settings
The environment variable PATH will be expanded with install_path/bin.
The environment variables DIRXMETAHUB_INST_PATH, and DIRXIDENTITY_INST_PATH will be set to install_path. For Windows platforms, this will be done defining or extending the related system environment variables.
For Linux platforms, this will be done by changing the profile of the user.
Before changing the profile of the user a backup will be created,
for example userID_home_directory/.profilenumber.
Remove these files by hand, if necessary.
For Linux platforms, DXI_JAVA_HOME will be set to dxi_java_home.
For Windows platforms, a script install_path/setdxienv.bat will be created which contains the settings for DXI_JAVA_HOME as dxi_java_home (Windows notation).
Uninstallation
The uninstallation process performs the following tasks:
-
Removes the DirX Identity part from the path variable.
-
Deletes the variable s DIRXMETAHUB_INST_PATH, DIRXIDENTITY_INST_PATH.
-
Removes all installed files.
To uninstall DirX Identity, perform these steps:
Windows Instructions:
-
Open the Windows option for uninstalling software on your computer. Depending on the operating system on your computer, it is Add or Remove Programs or Programs and Features.
-
Look for the entry Atos DirX Identity version and select it.
-
Click Change / Remove
Linux Instructions:
-
Log in as Linux user.
-
Perform cd install_path*/UninstallerData*
for example userID_home_directory/DirX Identity/UninstallerData -
For graphical installation mode, type:
sh ./Uninstall_DirX_Identity -i gui -
For console mode, type:
sh ./Uninstall_DirX_Identity
If un-configuration has not yet been performed, the un-installation process starts the Configurator in un-configuration mode for un-configuring DirX Identity. Then the introduction dialog is displayed.
Introduction Dialog
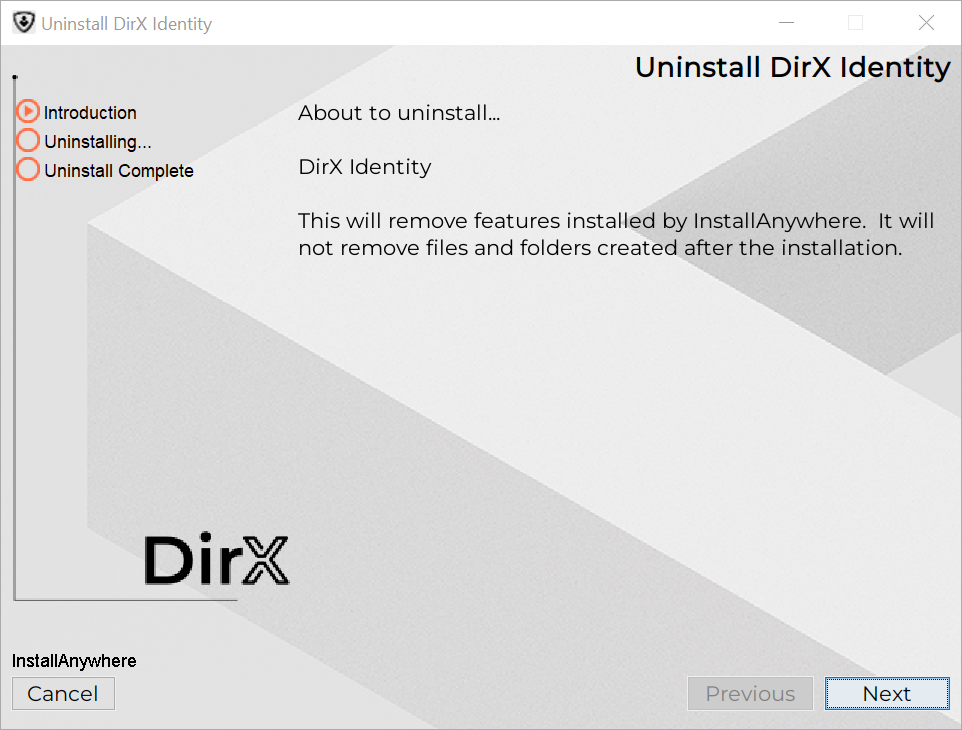
-
Click Uninstall to start the un-installation program. Only the software shall be removed from your computer
-
Click Cancel to leave the un-installation program.
| After un-installation, un-configuration including removal of the database is no longer possible. |
Please run the configuration tool before uninstalling.
Uninstall Complete Dialog
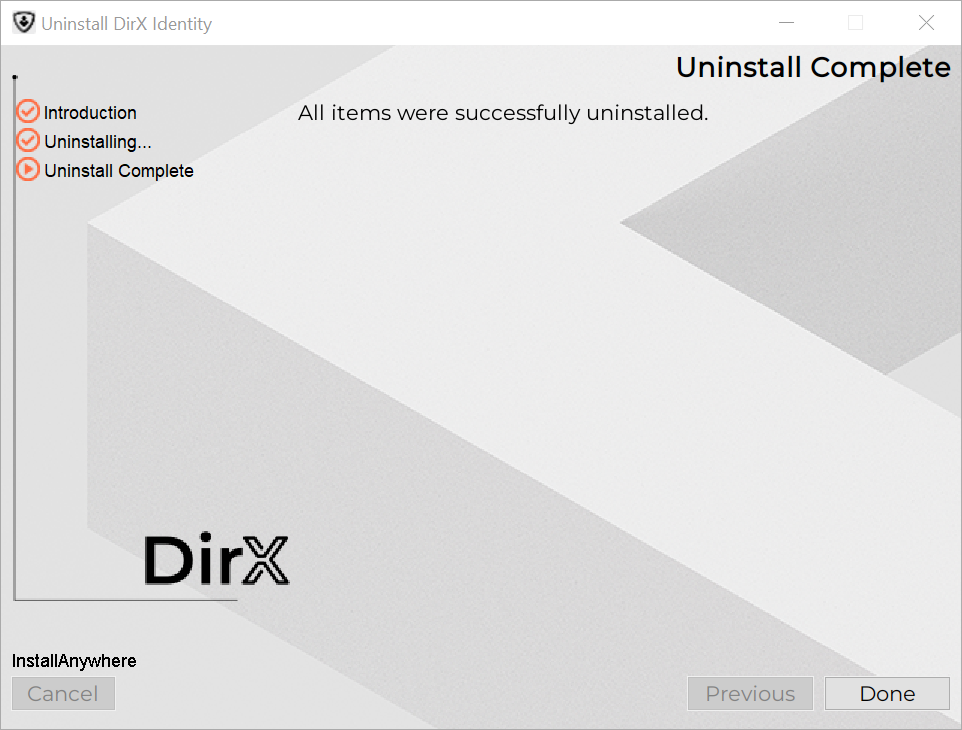
The un-installation procedure has successfully removed DirX Identity from your computer.
-
Click Done to exit the installer.
Additional instructions for Linux
The following instructions must be carried out after installation of the product:
-
Relevant for Linux platforms only: If the DirX Identity installation account has been created so that the login shell is bash, then you need to ensure that the file .profile in the related home directory will be executed with each login and each startup of a graphical session. The technical background is that at login time, the files .bash_profile, .bash_login, .profile are accessed exactly in this order and that only the first readable file in this list is evaluated. One option for accomplishing this task is to perform these steps:
-
Append the statement . ~/.profile to your .bashrc file.
-
Add the statement . ~/.bashrc to your .bash_profile file if not yet done.
-
Any login as the DirX Identity installation account must be redone in order to work with the correct environment settings.
Update Installation
There are two ways to update a DirX Identity Installation:
-
Method 1: Un-configure and uninstall DirX Identity completely, and then perform a new installation and Initial Configuration.
-
Method 2: Perform an installation on your existing DirX Identity installation. Select all components you installed during the previous installation. The files are set up as new and all configuration files are saved. Then perform an Initial Configuration.
Silent Installation
You can install DirX Identity on a machine without interaction. Follow these steps to create a silent setup:
-
Copy the content of the folder DirXIdentity/Server from the DVD to a folder on your machine.
-
Customize the file dirxidty.properties.
-
Start the installation program in the folder on your machine.
-
Check for errors
The file dirxidty.properties looks like this:
…

# UI mode for the installer
# INSTALLER_UI=[SILENT | CONSOLE | GUI]

# Default for Windows: GUI
# Default for Unix: CONSOLE

##############################################################################
#
# DirX Identity specific installation properties
#
##############################################################################

# Installation path for DirX Identity
# PROP_USER_INSTALL_DIR=<path>

# Default for Windows:
# PROP_USER_INSTALL_DIR=$PROGRAMS_DIR$$/$DirX$/$Identity

# Default for Linux:
# PROP_USER_INSTALL_DIR=$PROGRAMS_DIR$$/$DirX_Identity

# Note for Windows:
# If an existing installation path for DirX Identity is found in the registry
# then this path will be used for the installation, and it cannot be overridden
# with the PROP_USER_INSTALL_DIR property

# PROP_USER_INSTALL_DIR=$PROGRAMS_DIR$$/$Atos$/$DirX Identity

# ----------------------------------------------------------------------------

# Shortcut group for DirX Identity
# PROP_USER_SHORTCUTS=<shortcut group>

# Default:
# PROP_USER_SHORTCUTS=$WIN_COMMON_PROGRAMS_MENU$$/$DirX Identity

# Note for Windows:
# If an existing shortcut group for DirX Identity is found in the registry
# then this shortcut group will be used for the installation, and it cannot be
# overridden with the PROP_USER_SHORTCUTS property

# ----------------------------------------------------------------------------

# Selected licenses for DirX Identity

# Apply selected licenses: the selected license values will be applied if
# PROP_SET_LICENSES is set to 1
PROP_SET_LICENSES=1

# Selected licenses
# <license>=[1 | 0]
# 1: License will be selected
# 0: License will be not selected

PROP_LIC_Business_Suite=1
PROP_LIC_Professional_Suite=1
PROP_LIC_HighAvailability=0
PROP_LIC_PwdMgmt=0

# ----------------------------------------------------------------------------

# Selected Java environment
# PROP_SELECTED_JRE=<path to existing JDK or JRE>

# Example for Windows:
# PROP_SELECTED_JRE=C\:\\Program Files\\Java\\java-17
# Example for Linux:
# PROP_SELECTED_JRE=/opt/java-17

# ----------------------------------------------------------------------------

# Restart Windows - applicable for (un-)installation in silent mode
# Note:
# The following property can be used to force restarting the computer after the
# installation has been completed

# PROP_RESTART_NEEDED=YES

# ----------------------------------------------------------------------------

# Skip configuration after restart
# Note:
# The following property can be used to skip starting the Initial Configuration
# Wizard after the next restart of the computer

# PROP_SKIP_CONFIG_AFTER_RESTART=YES

# ----------------------------------------------------------------------------
Change the line INSTALLER_UI=swing to INSTALLER_UI=SILENT.
Customize the PROP_LIC_… values according to the features you have licensed, specifying value 1 for features you have licensed and value 0 for features you have not licensed.
Change (and uncomment) the PROP_ … values in the section starting # Install features for DirX Identity if you will not use the default settings.
For selection of an already JRE for DirX Identity, customize and activate the setting for the property PROP_SELECTED_JRE according to the inline comments above.
The next de-installation after a silent installation runs in silent mode.