Installing DirX Identity
This chapter explains how to install and uninstall DirX Identity.
|
To start the DirX Identity Installer, you need Java VM version 21 or newer. If Java is already set in your Path environment variable, you do not need to select it explicitly. We recommend using the default installation folder. To specify a Java VM manually, use the dirxidty.exe LAX_VM "<FULL_PATH_TO_JAVA_VM>" |
| With an update or upgrade installation the folder <DXI_INSTALL_PATH>/security will be deleted because the files are of no use anymore. Do not forget to make an installation folder backup. |
Installation
This section describes how to run the DirX Identity installation procedure to install the DirX Identity software on a machine.
General Remarks
or every successful installation or uninstallation, a record is written to:
<DXI_INSTALL_PATH>/install_history.txt
This file includes:
-
Date of installation / uninstallation
-
DirX Identity version
-
Name of user performing the installation / uninstallation
-
Installed components
Log files:
-
Installation:
<DXI_INSTALL_PATH>/DirX_Identity<VERSION>_Install_<TIMESTAMP>.log -
Uninstallation:
<DXI_INSTALL_PATH>/DirX_Identity<VERSION>_Uninstall_<TIMESTAMP>.log
After installation, store any configuration you want to keep in the /conf/ folder.
This folder is preserved during updates.
See Configurable Content for details.
|
Windows Instructions
Windows introduces User Access Control (UAC), which requires explicit confirmation for administrative tasks. Because this confirmation cannot occur during Configurator execution, do one of the following:
-
Add the user running Configurator to the local administrator group.
-
Start the application with Run as Administrator.
-
Disable UAC during configuration.
Access rights:
-
You may need explicit read/write permissions on installation subfolders.
-
Options:
-
Install under a custom path (e.g.,
C:\My_Program Files...). -
Use default path and set permissions manually (Properties → Security → Permissions).
-
Open a command prompt with administrative rights for file edits.
-
Linux Instructions
Ensure your Linux installation includes all required packages for DirX Identity. We recommend using an Xorg-based interface (e.g., GNOME Classic) instead of Wayland for better Java Swing compatibility.
Installation folder:
<DXI_INSTALL_PATH>/DirX/Identity
Use an account different from the DirX Directory Server account. The user ID must exist before installation.
Two installation modes:
-
Graphical (GUI)
-
Console (default)
During GUI installation:
-
Click Cancel anytime to exit.
-
Click Previous to return to the previous step.
Prerequisites for First Installation
Before installing:
-
Install required Java version (see Java Requirements).
-
Install required Tomcat version if using web applications/services (see Tomcat Requirements).
| If Tomcat is running, stop it manually before installation. The installer stops DXI services automatically, but Tomcat can only be stopped if its service name is default (e.g., Tomcat11) and only on Windows |
Starting the Installation
Windows:
Default installation path: %ProgramFiles%\DirX\Identity
Steps:
-
Locate
dirxidty.exeand run as Administrator. -
Choose installation mode (default: GUI).
Linux:
Steps:
-
Log in as Linux user.
-
Mount installation media.
-
Open shell and navigate to:
cd /<MOUNT_POINT>/Installation/DirXIdentity/Linux/Server -
Run
dirxidty.bin(default: Console mode, see installation mode)
Update / Upgrade Installation
Starting with version 8.10.3, full installer packages are delivered. Update or upgrade installation is supported from version 8.7 and later. For details on migrating from older versions, see Migration Guide.
You can perform an update or upgrade at any time.
| Default applications are overwritten during an update. Do not use modified default applications in production environments. |
| During an update, the entire <DXI_INSTALL_PATH> folder is replaced, except for files and folders listed in Configurable Content |
|
When upgrading DirX Identity from version 8.x to 9.0, certain configuration settings for Provisioning (including SMTP and related communication parameters), Workflows, Services are overwritten by common provisioning factory data (not only the sample domain). Before starting the upgrade, it is recommended to back up all customer‑specific configuration parameters in these areas. After the upgrade, please review and, if necessary, re‑apply your customer‑specific settings for these areas (for example SMTP server, ports, authentication and other mail service options, workflow‑related parameters, and service endpoints) to ensure correct system operation. |
Prerequisites for Update / Upgrade Installation
Before updating:
-
Review Preparing the Migration for files not preserved automatically.
-
Backup all DirX Identity databases.
-
Backup the installation folder.
-
Stop all workflows (disable scheduling, shut down event managers).
-
Stop all DirX Identity services and UI components, including Tomcat services.
-
Install required Java version.
-
Install required Tomcat version if using web applications/services.
| The installer attempts to stop DXI services automatically. Tomcat can only be stopped if its service name is default (e.g., Tomcat11) and only on Windows. On Linux, stop Tomcat manually before starting the installation. |
Starting the Update / Upgrade Installation
Two options:
-
Unconfigure and uninstall DirX Identity, then perform a fresh installation and configuration.
-
Install over the existing installation. Select all previously installed components. Install over the existing installation. Select all previously installed components.
After the Update / Upgrade Installation
After updating:
-
Search for files with
.newsuffix in<DXI_INSTALL_PATH>. These files appear when conflicts occur during backup restoration. Review and merge changes as needed. Backup originals before overwriting.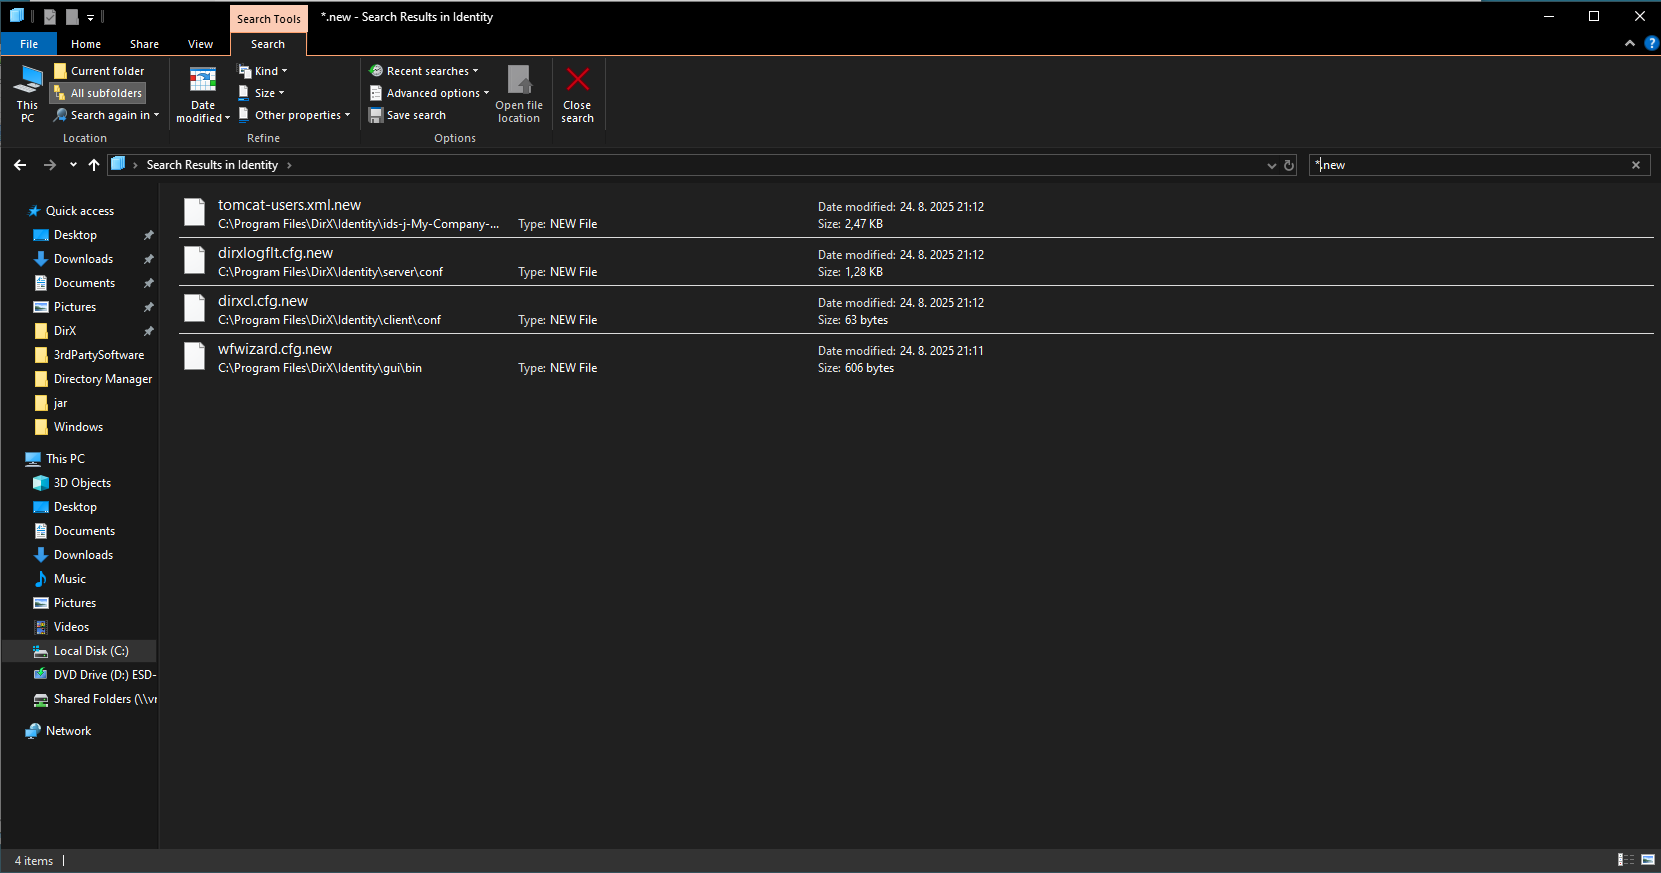 Example of files with .new suffix after update from 8.10.12 to 9.0.0 on Windows
 -
Run the Configuration Wizard:
-
Mandatory options: “Connectivity Schema and Data Configuration” and “Provisioning Schema and Data Configuration” (if DirX Directory server is installed).
-
Configure each ActiveMQ Message Broker.
-
Configure the primary C++ server (first installed in distributed environments).
-
Configure each domain (includes automatic migration).
-
-
Update Workflow Starter, Report Tool, or Eventing Tool if previously used.
| Running the "Configuration Wizard" after an update is not the same as “Initial Configuration” (see Configuration Wizard configure command |
Installation Modes
The installer supports multiple modes, selectable via the -i argument or the INSTALLER_UI property.
Refer to InstallAnywhere documentation for all command-line options.
| Installer is also referred to as Setup in the documentation (based on InstallAnywhere terminology). |
Graphical User Interface (GUI) Mode
Runs the installer with a wizard-style interface.
dirxidty.exe -i swing
sh ./dirxidty.bin -i gui
Default mode for Windows. Only essential properties are shown.
Steps
Choose Install Folder
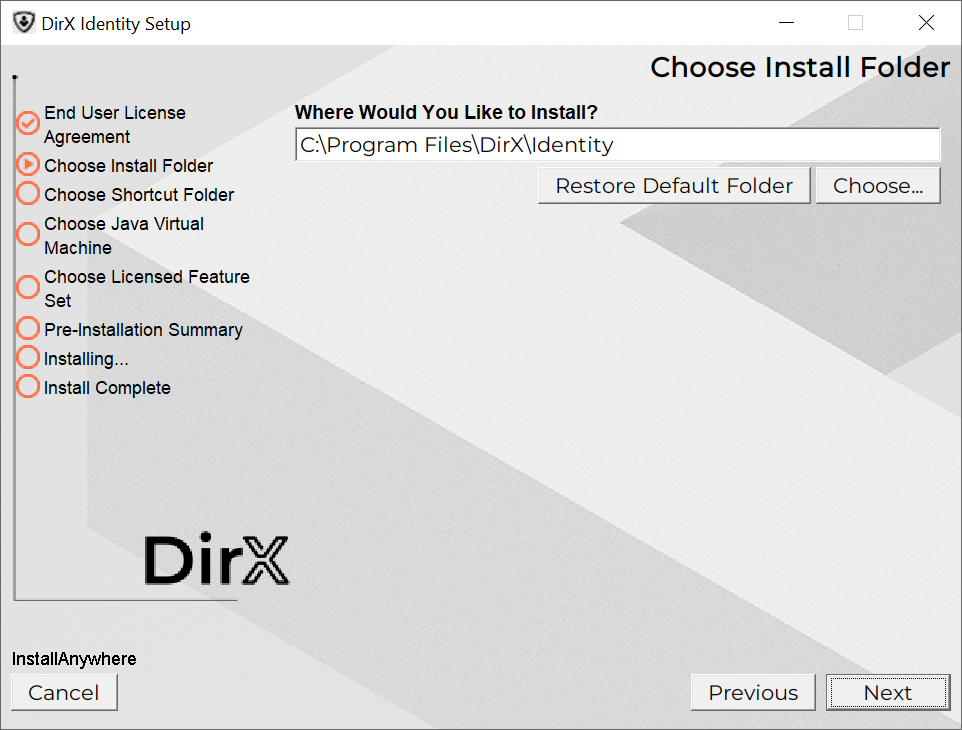
Select default or custom installation folder, and click Next.
Default: %ProgramFiles%\DirX\Identity
Use Current Java VM
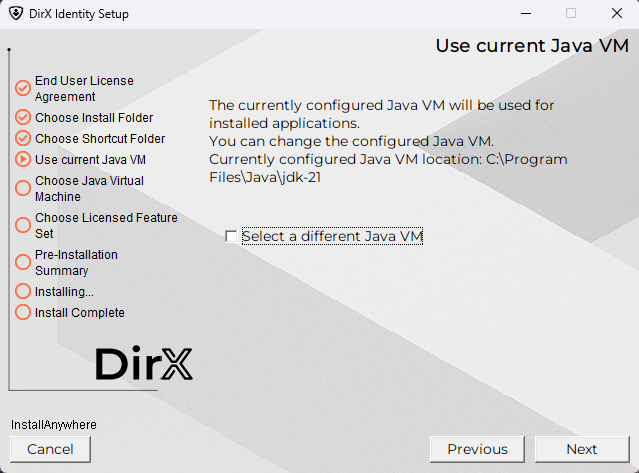
If an existing Java VM meets requirements, you can reuse it. Otherwise, select a different VM to proceed to Choose Java Virtual Machine. Click Next.
Choose Java Virtual Machine
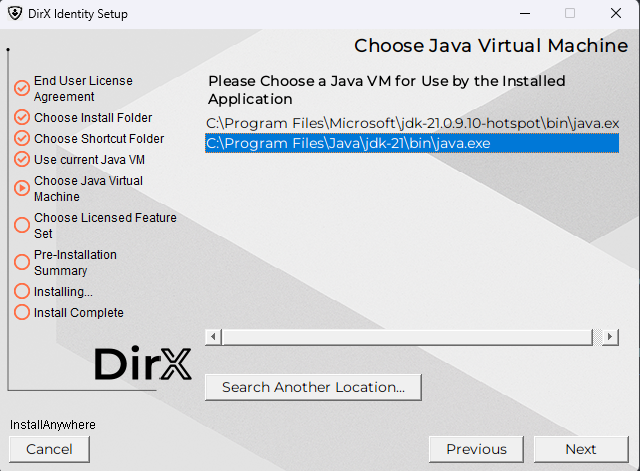
Select Java 21 VM for DirX Identity processes not hosted by Tomcat, and click Next.
Choose Licensed Features Set

Select features based on your license:
-
Business Suite – Core functionality and basic connectivity.
-
Provisioning Suite – Adds provisioning capabilities.
-
High Availability – Adds HA components.
-
Password Management – Includes password-related components.
Review carefully. Changes require restarting the installation. Click Next to confirm your selection.
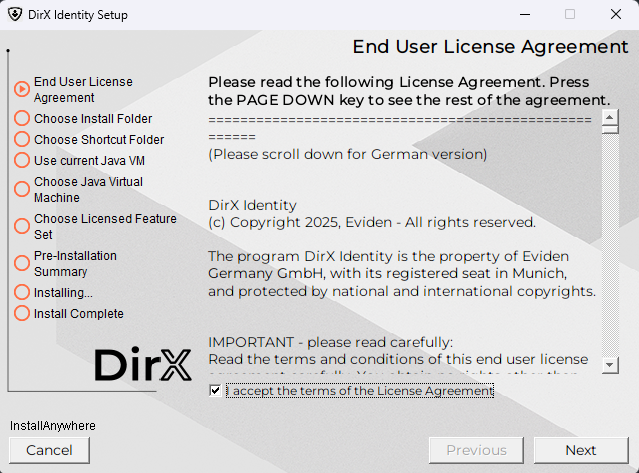
Pre-Installation Summary
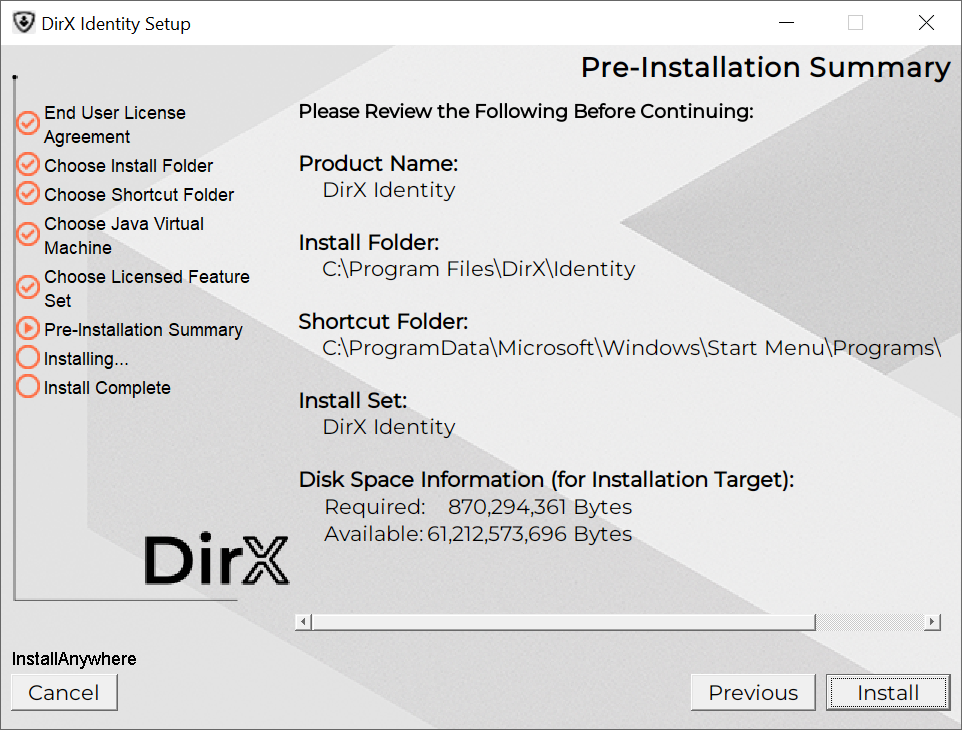
Review selections before proceeding. Click Previous to change any settings you have made. Otherwise, click Install.
Install Complete
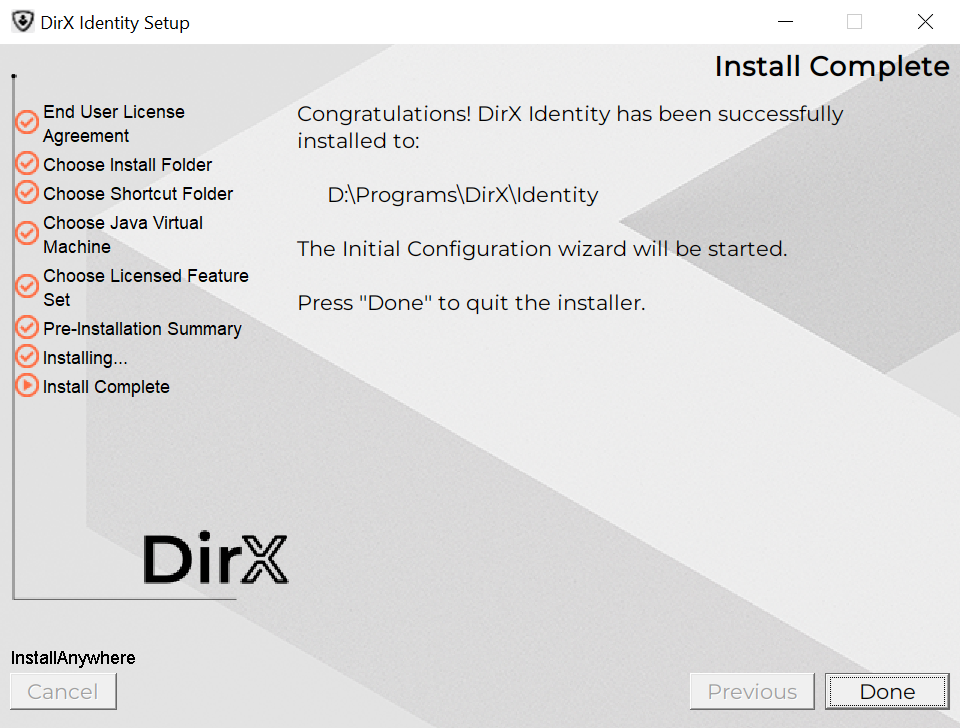
Click Done if installation succeeds. If errors occur, see Installation / Configuration Problems.
Completing the installation
After installing DirX Identity, the Configuration Wizard must be started to prepare the product for the first use. The Configuration Wizard is started automatically after a successful installation. Alternatively, it can be manually started using its Start Menu shortcut or launcher.
Console Mode
-
Runs in command-line interface.
-
Default mode for Linux.
-
Respond to prompts to proceed. Type
backto return orquitto cancel.
dirxidty.exe -i console
sh ./dirxidty.bin -i console
Silent Mode
-
Runs without user interaction.
-
Requires a properties file with all installation parameters.
dirxidty.exe -i silent -f "<PATH_TO_PROPERTIES_FILE>"
sh ./dirxidty.bin -i silent -f "<PATH_TO_PROPERTIES_FILE>"
Installation Properties
You can use a properties file to preset all installation values for any mode.
For reference, check the dirxidty.properties file — it lists all properties and descriptions.
Place the file in the same folder as the installer or specify it via the -f argument:
dirxidty.exe -f "<PATH_TO_PROPERTIES_FILE>"
Example: Silent installation properties file (comments explain each property):
…
##############################################################################
#
# DirX Identity installation properties
#
##############################################################################
##############################################################################
#
# Release information
#
# Version=${version}
# Build=${buildnumber}
# InstallationType=${installationtype}
# CreationDate=${date}
#
##############################################################################
##############################################################################
#
# Installer created with InstallAnywhere by ${ia_vendor}
# ${ia_version}
#
##############################################################################
##############################################################################
#
# InstallAnywhere installation properties
#
##############################################################################
# UI mode for the installer
# INSTALLER_UI=[SILENT | CONSOLE | GUI]
# Default for Windows: GUI
# Default for Unix: CONSOLE
##############################################################################
#
# DirX Identity specific installation properties
#
##############################################################################
# Installation path for DirX Identity
# PROP_USER_INSTALL_DIR=<path>
# Default for Windows:
# PROP_USER_INSTALL_DIR=$PROGRAMS_DIR$$/$DirX$/$Identity
# Default for Linux:
# PROP_USER_INSTALL_DIR=$PROGRAMS_DIR$$/$DirX$/$Identity
# Note for Windows:
# If an existing installation path for DirX Identity is found in the registry
# then this path will be used for the installation, and it cannot be overridden
# with the PROP_USER_INSTALL_DIR property
# ----------------------------------------------------------------------------
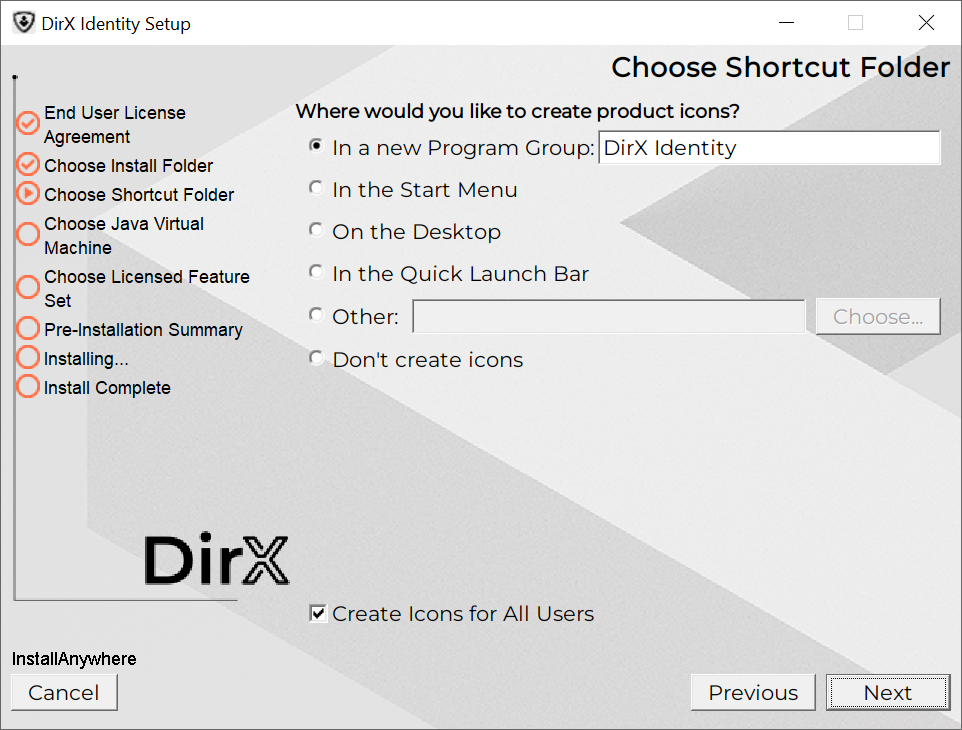
# Shortcut group for DirX Identity
# PROP_USER_SHORTCUTS=<shortcut group>
# Default:
# PROP_USER_SHORTCUTS=$WIN_COMMON_PROGRAMS_MENU$$/$DirX Identity
# Note for Windows:
# If an existing shortcut group for DirX Identity is found in the registry
# then this shortcut group will be used for the installation, and it cannot be
# overridden with the PROP_USER_SHORTCUTS property
# ----------------------------------------------------------------------------
# Selected licenses for DirX Identity
# Apply selected licenses: the selected license values will be applied if
# PROP_SET_LICENSES is set to 1
PROP_SET_LICENSES=1
# Selected licenses
# <license>=[1 | 0]
# 1: License will be selected
# 0: License will be not selected
PROP_LIC_Business_Suite=1
PROP_LIC_Professional_Suite=1
PROP_LIC_HighAvailability=0
PROP_LIC_PwdMgmt=0
# ----------------------------------------------------------------------------
# Selected Java environment
# PROP_SELECTED_JRE=<path to existing JDK or JRE>
# Example for Windows:
# PROP_SELECTED_JRE=C\:\\Program Files\\Java\\java-21
# Example for Linux:
# PROP_SELECTED_JRE=/opt/java-21
# ----------------------------------------------------------------------------
# Restart Windows - applicable for (un-)installation in silent mode
# Note:
# The following property can be used to force restarting the computer after the
# installation has been completed
# PROP_RESTART_NEEDED=YES
# ----------------------------------------------------------------------------
# Skip configuration after restart
# Note:
# The following property can be used to skip starting the Configuration Wizard
# after the next restart of the computer
# PROP_SKIP_CONFIG_AFTER_RESTART=YES
# ----------------------------------------------------------------------------
Configurable Content
Since version 8.10.2, the installation process works by removing the existing installation and installing the new version. To prevent loss of configurable and custom content (plus files like logs), the installation has a defined set of files and folders that are preserved during the update/upgrade. The installation process creates a backup of these files and folders before removing the existing installation, and restores them after installing the new version.
To reduce the risk of losing important data, it is recommended to create a backup of the whole installation folder before performing an update/upgrade installation.
We encourage you to put all custom content into the folders defined in the list below, and to avoid putting custom content into other folders. This will ensure that your custom content is preserved during update/upgrade installations.
| Folder <DXI_INSTALL_PATH>/conf is the recommended location for all custom content. |
The following files (paths with extensions) and folders relative to the <DXI_INSTALL_PATH> are preserved during update/upgrade:
| Asterisk * represents any string of characters. |
-
configuration.ini
-
install_history.txt
-
Atos_DirX_Identity_*Install_*.log
-
DirX_Identity_Install_*.log
-
*-configuration.tpl
-
/client/conf/*.db
-
/client/conf/*.cfg
-
/conf/
-
/gui/profiles/* (except those delivered with the product)
-
/gui/cacerts
-
/gui/bin/*.cfg
-
/gui/DirXjdiscover.settings
-
/ids-j-*/
-
/messagebroker/
-
/logs/
-
/server/conf/dxmmsssvr.ini
-
/server/conf/server.crt
-
/server/conf/*.cfg
-
/server/log/
-
/services/instances/*
-
/ssl/*.cer
-
/ssl/*.crt
-
/ssl/*.csr
-
/ssl/*.der
-
/ssl/*.ext
-
/ssl/*.jks
-
/ssl/*.key
-
/ssl/*.pem
-
/ssl/*.p12
-
/ssl/conf
-
/ssl/identity-keystore
-
/ssl/identity-truststore
-
/ssl/identity-truststoreAll
-
/ssl/provisioningservices-keystore-*
-
/ssl/provisioningservices-truststore
-
/status/
-
/web/instances/*
-
/work/
There is also a list of GLOB patterns that might be part of the backed up folders, but are not preserved in the backup because they are not expected to contain any custom content. These patterns are:
-
**/*.org
-
**/*.org.*
-
**/*.template
Configurable content whose location differs in the new version is also preserved, moved to the new location automatically during installation.
Notable changes in configurable content location
-
(9.0.0) All instances of the web applications are moved to a new folder <DXI_INSTALL_PATH>/web/instances. These include:
-
<DXI_INSTALL_PATH>/provisioningWebServices/provisioningServlet-* → <DXI_INSTALL_PATH>/web/instances/ProvisioningService-*
-
<DXI_INSTALL_PATH>/restServices/DirXIdentityRestServices/DirXIdentityRestService-* → <DXI_INSTALL_PATH>/web/instances/DirXIdentityRestService-*
-
<DXI_INSTALL_PATH>/restServices/ServerAdminRestServices/ServerAdminRestService-* → <DXI_INSTALL_PATH>/web/instances/ServerAdminRestService-*
-
<DXI_INSTALL_PATH>/web/BusinessUserInterface-* → <DXI_INSTALL_PATH>/web/instances/BusinessUserInterface-*
-
<DXI_INSTALL_PATH>/web/webCenter-* → <DXI_INSTALL_PATH>/web/instances/webCenter-*
-
<DXI_INSTALL_PATH>/web/pwdManagement-* → <DXI_INSTALL_PATH>/web/instances/pwdManagement-*
-
-
(9.0.0) <DXI_INSTALL_PATH>/GUI folder is renamed to <DXI_INSTALL_PATH>/gui
Custom Libraries
You can extend DirX Identity with custom JAR libraries for:
-
Identity Manager
-
PolicyAgent, ServiceAgent, HistoryAgent
-
WebCenter
-
SCIM Rest Service (DirXIdentityRestService)
-
IdSJ Server
Place JAR files in:
<DXI_INSTALL_PATH>/lib/java/custom/
Alternatively, define environment variable:
DIRXIDENTITY_CUSTOMLIB_PATH
to point to an external folderto point to an external folder.
| The specified folder (if it’s located in the installation) is not deleted during upgrade/update installation, so any custom libraries placed there are preserved. |
Environment Variable Settings
The installer updates environment variables:
-
PATH → adds <DXI_INSTALL_PATH>/bin
-
DIRXMETAHUB_INST_PATH and DIRXIDENTITY_INST_PATH → set to <DXI_INSTALL_PATH>
-
DXI_JAVA_HOME → set to <DXI_JAVA_HOME>
Windows:
-
Creates
setdxienv.batin <DXI_INSTALL_PATH> with Java settings.
Linux:
-
DXI_JAVA_HOMEwill be set to <DXI_JAVA_HOME> -
Updates user profile and creates backup (e.g.,
~/.profile.NUMBER). Remove backups manually
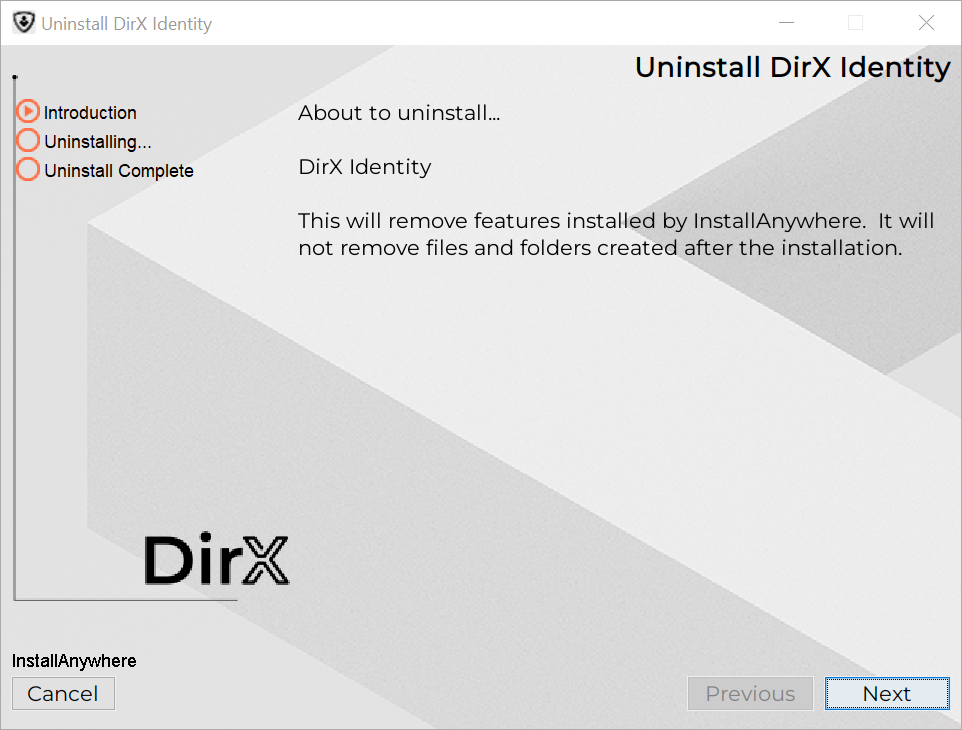
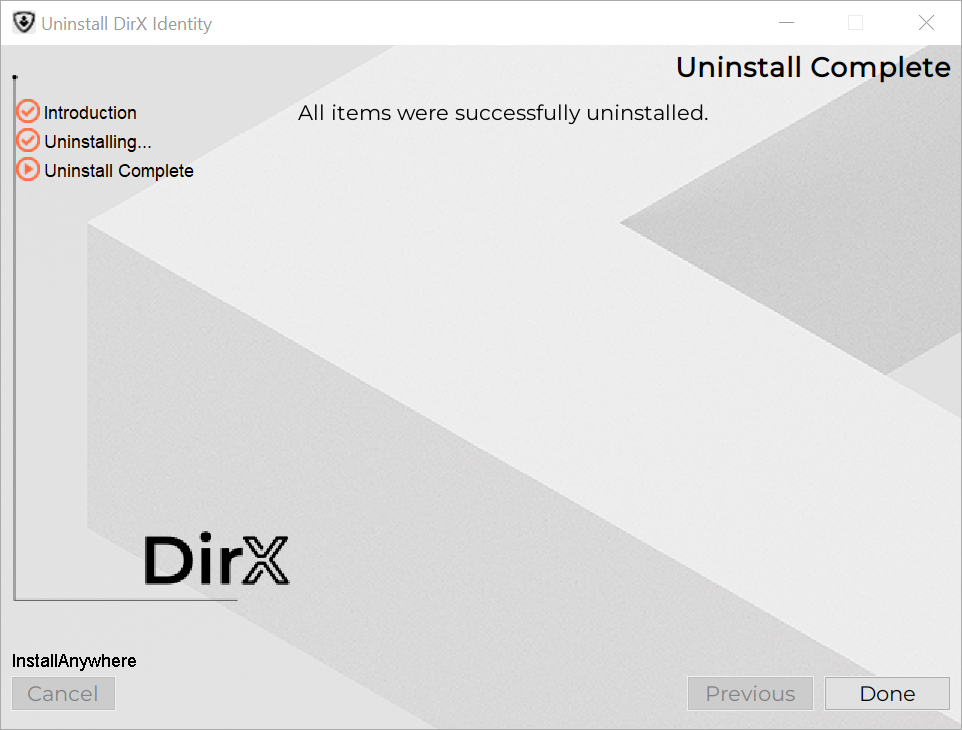
Uninstallation
Uninstallation removes:
-
DirX Identity from PATH
-
Variables: DIRXMETAHUB_INST_PATH, DIRXIDENTITY_INST_PATH
-
All non-configurable files
Windows:
-
Open Settings → Apps → Installed apps, or Add/Remove Programs.
-
Find DirX Identity and click Uninstall.
Linux:
-
Log in as installation user.
-
Navigate to <DXI_INSTALL_PATH>/UninstallerData
-
GUI mode:
sh ./Uninstall_DirX_Identity -i gui -
Console mode:
sh ./Uninstall_DirX_Identity
If un-configuration was not performed, the wizard runs in un-configuration mode first.