Installing DirX Audit
This chapter describes how to run the DirX Audit installation procedure to install the DirX Audit software on a machine and how to use the procedure to uninstall it.
Installing DirX Audit
The procedure described here installs all DirX Audit components on one machine. See the chapter “Installation Configurations” for instructions on how to create distributed installations.
Before You Begin
Before you begin the DirX Audit installation, be sure to read the instructions given here that apply to your target operating system.
If you plan to run DirX Audit Manager, install and prepare the Apache Tomcat but stop the Apache Tomcat service before installation. See the section “Apache Tomcat Installation” in “Installation Configurations”.
Windows Instructions
Important: The installation path must be shorter than 50 characters.If you change the default installation path, please keep in mind that the maximum length of the absolute path is 50 characters; otherwise, you may have problems deleting the deployment folder (the entire path is limited to 255 characters and the deployment uses up to 200-character-long paths).
UNIX Instructions
The login name of a UNIX user determines the default destination folder for installation. The folder is different for root and for other users:
-
For root, the folder is /opt/DirX_Audit.
-
For other users, the folder is user_home_directory/DirX_Audit, where user_home_directory is the home directory of the specified account.
We strongly recommend that you use a separate (not root) account for DirX Audit. You must create this account before you start the DirX Audit installation.
You can choose a different user during the installation if started as root. The selected user will then be used to run the installed software and related services.
A graphical and a command-line based (console mode is the default interface) installation procedure is available. The installation procedure given in this chapter shows the graphical installation procedure. The screenshots are taken on Windows Server. The look on UNIX is slightly different. During the graphical installation mode, you can click Cancel at any time to leave the installation program. You can click Previous at any time to return to a previous dialog.
Console mode mimics the default GUI steps provided by InstallAnywhere and uses standard input and output. You do not need X Windows (X11) to run the DirX Audit installation in console mode. Console mode outputs text to the console line-by-line. It does not allow you to format, clear the screen, or position the cursor. Because the console mode information is nearly the same as the information provided in the graphical installation procedure, it is not described here.
In console mode, you must respond to each prompt to proceed to the next step in the installation. If you want to return to a previous step, type back. You can type quit at any time to cancel the console procedure.
Important: The installation path must not contain spaces, or some tools may not be able to start or may operate incorrectly. Use underscores instead of spaces in the installation path.
Starting the Installation
This section provides operating system-specific instructions for starting the DirX Audit installation.
Windows Instructions
To start the DirX Audit installation on Windows Server:
-
Log on as administrator.
-
Run dirxaudt.exe from the installation_medium/Installation/DirXAudit/Windows folder.
UNIX Instructions
To start the DirX Audit installation:
-
Log in as a UNIX user. If you want to install DirX Audit using a different account, log in as root.
-
Insert the installation medium that corresponds to your UNIX system. If the system does not mount the installation medium automatically, you must mount it manually.
-
Open a shell.
-
Change the working directory to the following path:
mount_point/Installation/DirXAudit/Linux. In the shell, you can use the following command:
cd mount_point/Installation/DirXAudit/Linux
-
Start the installation. To run the graphical installation, type the following command:
sh ./dirxaudt.bin -i gui
-
or to start a console installer from the command line, type the following command:
sh ./dirxaudt.bin
-
or start the installer in the console (default) user interface (UI) mode with the following command:
sh ./dirxaudt.bin -i console
-
To run the silent installation, type the following command:
sh ./dirxaudt.bin -i silent
Graphical Installation Procedure
This section steps through the dialogs presented by the graphical installation procedure.
Introduction
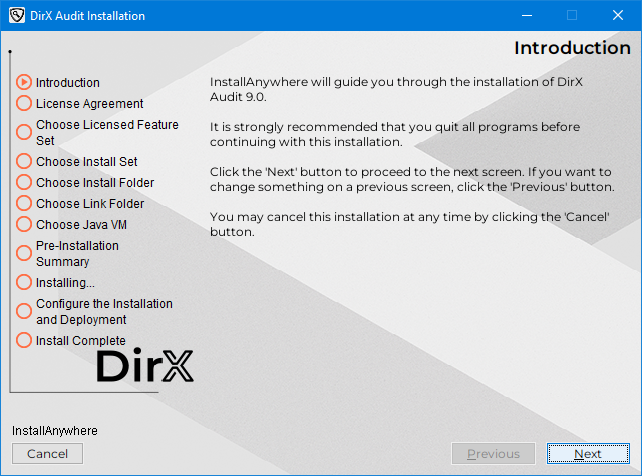
Click Next to go to the next dialog.
| You can click Cancel at any time to leave the installation program. You can click Previous at any time to return to a previous dialog. |
License Agreement
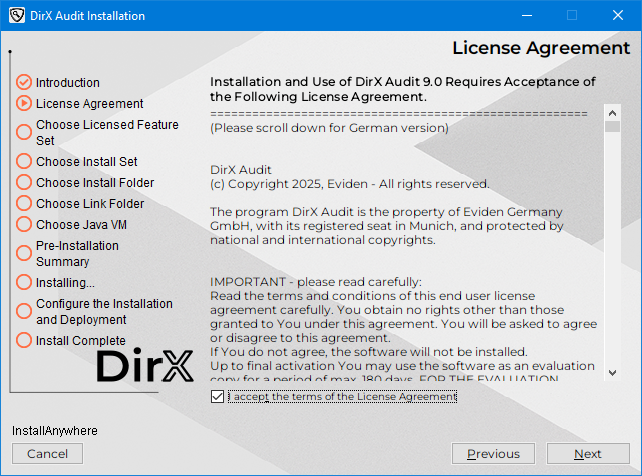
Setup displays a License Agreement dialog.
Read the licensing information. Select I accept the terms of the License Agreement if you agree, and then click Next.
Choose Licensed Feature Set
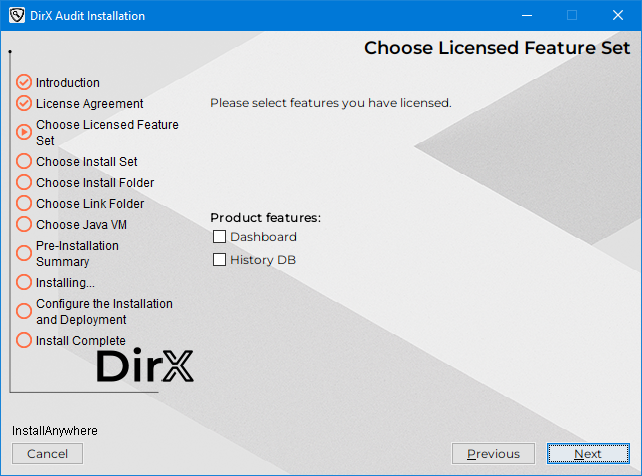
Setup displays a Choose Licensed Feature Set dialog. Audit Analysis and Reports are “core” features, they are always enabled and are not licensed separately.
In Product features, you can select the features you are licensed for:
Dashboard - Enables DirX Audit’s dashboard feature.
History DB - Enables DirX Audit’s History DB feature.
Make your selection and then click Next to go to the next dialog.
Choose Install Set
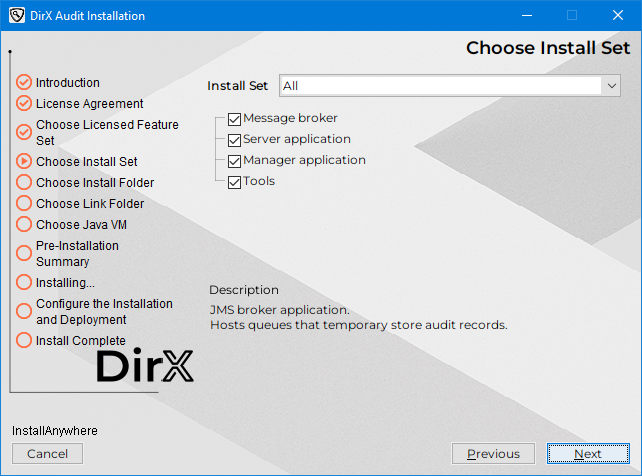
Setup displays a Choose Install Set dialog. In Install Set, you can select:
All - Installs all DirX Audit components on this machine.
Message Broker - Installs only DirX Audit Message Broker.
Server - Installs only DirX Audit Server application container and tools.
Manager - Installs only DirX Audit Manager application deployment.
Custom - Allows you to define the set of components you would like to install on this machine.
The components visible in the tree that you can select are:
-
Message broker (DirX Audit Message Broker). You must select this component if you need to collect audit messages through JMS queues (for example, DirX Identity workflow audit messages).
-
Server application. You must select this component if you want to run the DirX Audit Server.
-
Manager application. The DirX Audit Manager application container, the Apache Tomcat installation is required.
-
Tools. Additional tools for DirX Audit (for example, database export, import, purge and maintenance utilities). Tools are installed together with DirX Audit Server application container because they are used for the maintenance and migration process.
Make your selection and then click Next to go to the next dialog.
Choose Target User Account
Setup displays a Choose Target User Account dialog. This step is applied only when installing on the UNIX platform.
Make your selection and then click Next to go to the next dialog.
Choose Install Folder
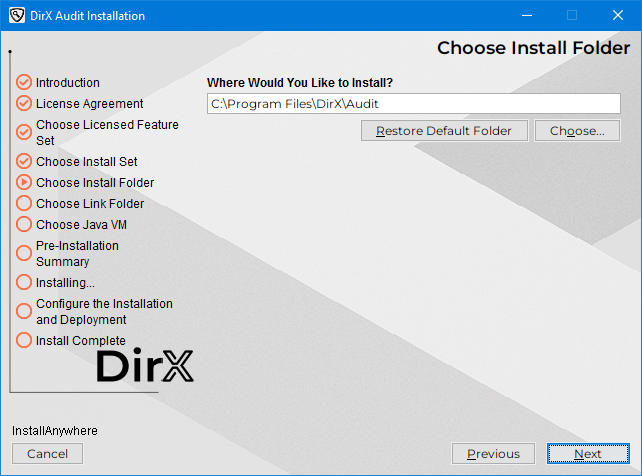
The setup tries to detect the correct installation path for DirX Audit if it is already installed on the machine.
In such case, this dialog will be skipped entirely, and the installation will proceed using the existing installation path for DirX Audit.
However, if DirX Audit is installed but the installation path wasn’t detected properly, please select the correct folder manually.
A default installation path is provided if installing for the first time. The default installation folder on Windows is Program Files\DirX\Audit.
Program Files contains the fully-qualified name of the folder defined by Windows to store applications.
See the section “Before You Begin” in “Installing DirX Audit” for the Linux default installation folders.
In this dialog, you can:
-
Click Next to select the default location.
-
Click Choose … to select another installation folder, and then click Next.
-
Click Restore Default Folder to select the default installation folder, and then click Next.
Choose Shortcut Folder
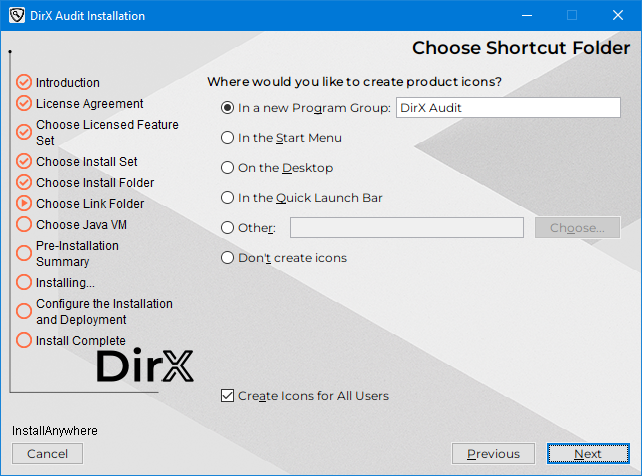
The Choose Shortcut Folder dialog allows you to select a program group for DirX Audit. The default program group is DirX Audit. In this dialog, you can (on Windows):
-
Click Next to select the default program group.
-
Click In a new Program Group (or In an existing Program Group) and select a program group. Click Next.
-
Click In the Start Menu and then click Next.
-
Click On the Desktop and then click Next.
-
Click In the Quick Launch Bar and then click Next.
-
Click Other and then Choose … to select another program group. Click Next.
-
Click Don’t create icons and then click Next.
You can also uncheck the Create Icons for All Users checkbox.
Choose Java VM
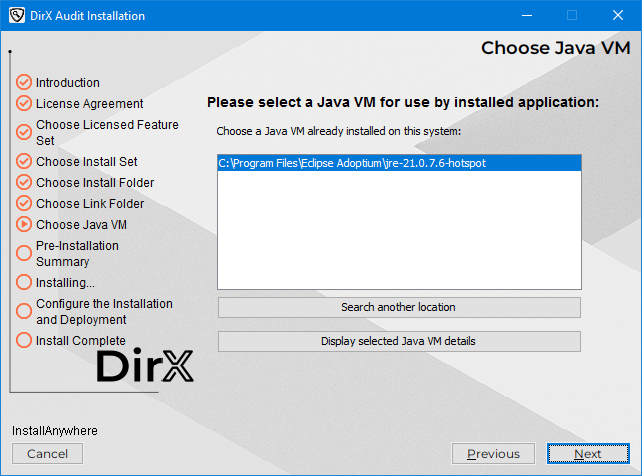
Setup tries to detect Java VMs installed on the machine.
In this dialog, you can:
-
Select Java VMs installed on the machine in the
Choose a Java VM already installed on this system window. -
Click Search another location to select a Java VM which is not listed in the dialog.
-
Click Display selected Java VM details to view details of the selected Java VM.
If you don’t see any Java VM installed on your machine, make sure you have an appropriate Java VM installed and also check whether the JAVA_HOME and PATH environment variables are set correctly for your operating system. See the DirX Audit Release Notes for supported versions.
Make your selection and then click Next to go to the next dialog.
Pre-Installation Summary
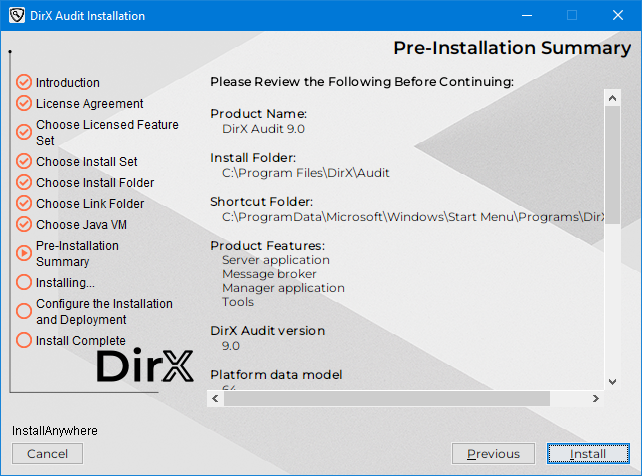
Setup displays the installation selections you have made and asks you to review them.
-
Click Previous to change any settings you have made. Otherwise, click Install.
Configure the Installation and Deployment
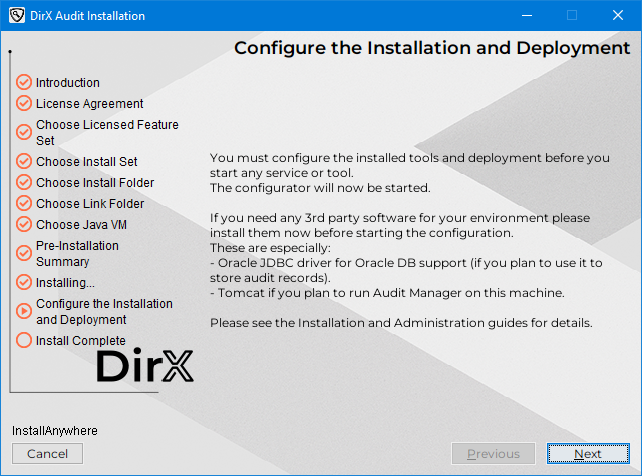
The installation procedure displays a window with requirements that must be met before you can proceed with configuring the tools and deployment. Check the requirements and then click Next to start the DirX Audit Configuration Wizard. See the chapter “Configuring DirX Audit” for instructions on how to use the DirX Audit Configuration Wizard. When the wizard completes, the installation and configuration process completes.

Uninstalling DirX Audit
This section describes how to uninstall DirX Audit on Windows and UNIX systems.
Starting Uninstallation
To start the uninstallation procedure, perform these steps:
Windows Instructions
On your computer, open Programs/apps and Features.
Scroll down to DirX Audit 9.1, click it and then select Uninstall.
UNIX Instructions
-
Log in as a UNIX user that has sufficient permissions for uninstallation (the same user that installed it or root).
-
Type
cd install_path/Uninstaller, for example:
user_home_directory/DirX_Audit/Uninstaller -
To use the graphical uninstallation, type:
sh ./Uninstall_DirX_Audit -i gui
-
or to use the console uninstallation, type:
sh ./Uninstall_DirX_Audit –i console
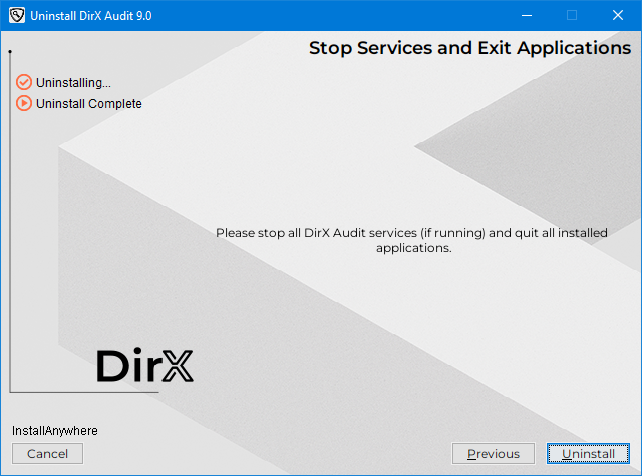
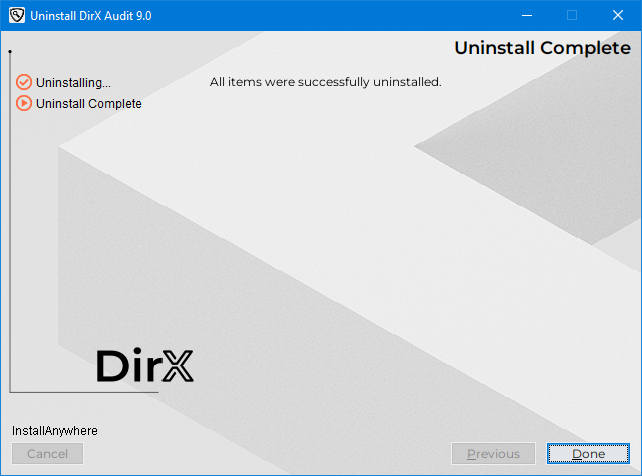
The uninstallation starts and displays the Uninstall DirX Audit dialog.
Graphical Uninstallation Procedure
This section steps through the dialogs presented by the graphical installation procedure.
Uninstall DirX Audit
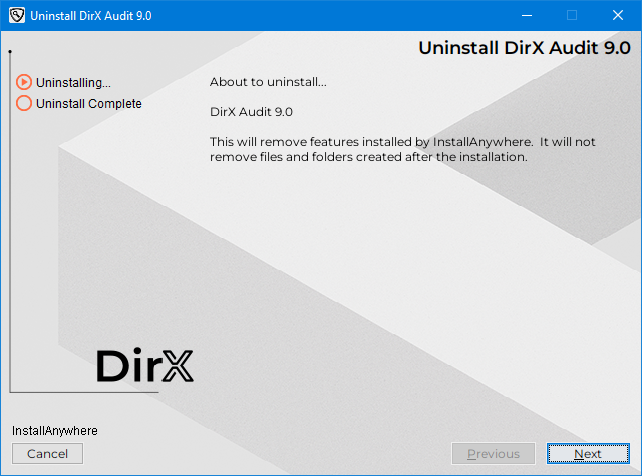
Setup displays an Uninstall DirX Audit dialog.
Click Next to go to the next dialog.
| you can click Cancel at any time to leave the uninstallation program. You can click Previous at any time to return to a previous dialog. |